
Nikon Z8 with NIKKOR Z 24-70mm f/2.8 S II & SB-5000: The System That Does Everything
After 35+ days shooting landscapes and family portraits on the 16th Nikon review I've done thanks to my friends at B&H — I'll say this plainly: Nikon has come so far. The Z8 is everything I loved about Nikon, wrapped in a body that finally addresses nearly everything I used to hate about it. Paired with the eyewatering-but-worth-every-penny NIKKOR Z 24-70mm f/2.8 S II and the fastest-recycling flash I've ever put on a hotshoe, this system made me genuinely sad to box it up and ship it back.

TL;DR ⚡
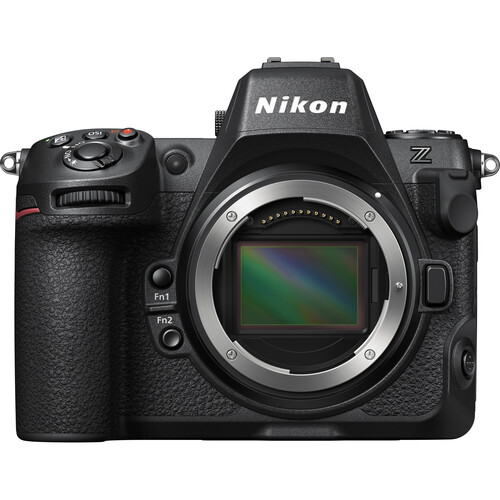
The Z8 is a 45.7MP, all-electronic-shutter powerhouse that packs essentially all of the Z9's capability into a lighter, more carry-friendly body — at a body-only price around $3,499. Its autofocus is excellent, its metering and white balance are outstanding, its configurable button layout is genuinely pro-grade, and its High-ISO workflow pairs brilliantly with DxO PureRAW. The one-two punch of the NIKKOR Z 24-70mm f/2.8 S II lens and the SB-5000 speedlight turns it into a system that can cover weddings, events, commercial work, and serious landscape work without missing a beat. Eye/subject AF is good but still a notch behind Sony and Canon. The articulating LCD is a real miss. Battery life with alkaline AAs in the SB-5000 is a gotcha to plan around.
Table of Contents
✅ Pros
- ✅Pro-grade ergonomics and build qualityBuilt like a Mercedes — heavy in a confidence-inspiring, premium way with tons of configurable buttons in exactly the right places
- ✅45.7MP is a sweet spotHigh-resolution without becoming unwieldy — files are large but manageable, not the file-storage nightmare of medium format
- ✅Outstanding metering and white balanceNailed exposure and color consistency across landscapes and indoor family portraits alike
- ✅Great viewfinder3.69M-dot blackout-free EVF — no complaints, full stop
- ✅Comprehensive feature setI never felt like a feature I needed was missing — I may have had to ask AI to find some of them, so discoverability gets a B, but they're all there
- ✅High-ISO + DxO PureRAW is a revelationPureRAW feels noticeably faster on NEF files and can rescue shots that looked unsalvageable — ISO 12,800 behaving like ISO 100 is no exaggeration
- ✅Rich file format optionsN-RAW, ProRes RAW, 12-bit NEF, dual-slot CFexpress + SD — this camera speaks every format a working pro needs
⛔ Cons
- ⛔Articulating LCD is embarrassingly outdatedThe 4-axis tilting design is just slightly better than useless by 2025 standards — I hope a patent is blocking something better, because this needs a total rethink
- ⛔Default photo playback settings are badOut of the box, playback behavior is unintuitive and requires immediate reconfiguring — a frustrating first-impression for a $3,500 camera
- ⛔Eye/subject AF trails Sony and CanonGood, not great — demonstrably behind what I experienced with Sony (best), Fujifilm, and Canon this year
- ⛔Feature discoverability gets a BEverything is in there, but you may need to consult AI or a YouTube walkthrough to find where Nikon buried certain settings
- ⛔HeavyNot a dealbreaker — the weight is a byproduct of pro-grade construction — but it's real weight on a long day's shoot
Who it’s for
- Wedding and event photographers who need one camera to do nearly everything reliably
- Commercial and portrait photographers who want high resolution with strong color science and metering
- Landscape and wildlife shooters who need robust weather sealing and a serious file for cropping
- Sports and hybrid video shooters who need 8K/60p and 4K/120p in a sub-Z9 package
- Existing Nikon Z-mount users — this is the upgrade that makes the whole system make sense
- Photographers who shoot High-ISO and are willing to add a DxO PureRAW step to their workflow
Who should skip
- Shooters whose primary use case demands the very best eye/subject tracking — Sony is still the leader there, and it matters in fast editorial and sports work
- Anyone who shoots a lot from awkward angles and relies on a fully articulating rear screen — this isn't your camera
- Budget-conscious shooters: body at ~$3,499 plus the 24-70mm f/2.8 S II at $2,799 is a $6,300 combination before memory cards, flash, and a bag
- Casual photographers upgrading from a consumer APS-C body — the feature density will overwhelm you and your money is better spent elsewhere
The Z8 Body: What 16 Nikon Reviews Later Looks Like
- Context: I shot with this loaner from June 25th through July 30th — 35 days of landscapes and family portrait sessions, a casual real-world use case that reflects exactly how a serious enthusiast or working pro would stress-test a camera between assignments.
- Nikon's progression is real: I think this is my 16th Nikon review. The Z8 is the camera that finally synthesizes everything I've loved about this brand — German-grade build quality, world-class metering, outstanding color — with a modern mirrorless feature set that addresses the frustrations I carried for years.
- The button layout is genuinely pro: Lots of configurable physical controls, all in ergonomically sensible positions. After a few hours I stopped hunting for anything. That's rare.
- Metering and white balance: Outstanding, both in harsh midday landscape light and in mixed indoor/window light during family portraits. This camera makes correct-exposure decisions I agree with.
- High-ISO + DxO PureRAW workflow: I don't know why PureRAW feels faster on NEF files than on other raw formats, but it consistently does. Shots I was ready to trash at 100% at ISO 6,400–12,800 came back looking like ISO 100 with very little time tax. This pairing is genuinely wow-level.
- Eye/Subject AF — honest assessment: Good, but disappointing relative to what I tested this year. Sony remains the leader, Canon is close behind, Fujifilm holds its own, and Nikon trails the pack. It won't cost you shots in casual family work; it might in fast editorial situations.
- The LCD situation: I hated it. The articulating design feels like a carry-over from a decade ago. I hope a patent is genuinely blocking a better solution, because as shipped this is a real quality-of-life miss on an otherwise exceptional camera.
- Default playback: Required immediate reconfiguration. If you buy this camera, budget 30 minutes before your first important shoot to get playback into a usable state.
- No mechanical shutter: All-electronic. Worth knowing before you shoot situations where rolling shutter could be an issue.
- Value: High initial cost, but arguably the strongest capability-per-dollar professional mirrorless body in the Z-mount system. If one camera has to do nearly everything — weddings, landscape, wildlife, commercial, serious video — Nikon wins this argument.
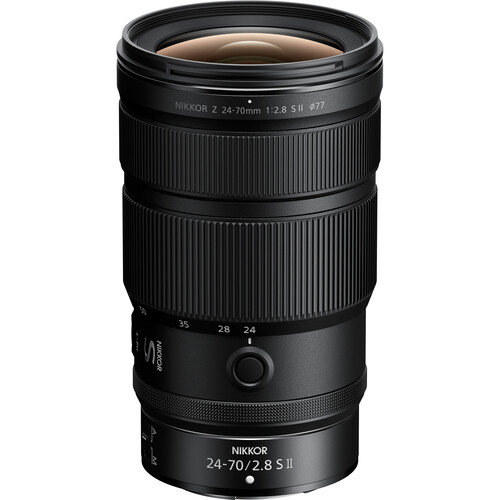
NIKKOR Z 24-70mm f/2.8 S II: Buy Once, Cry Once
- The price hurts — but only once: At $2,799, this lens is eyewatering. The credit card bill is the last pain you'll have. After that, there is nothing left to complain about.
- Internal zoom is a genuine differentiator: The lens doesn't extend or retract as you zoom. This matters for video/gimbal work, but it also means your variable ND filter or circular polarizer stays put when you zoom — you're not fighting the front element moving in and out.
- The hood design is clever: Nikon designed the HB-117 hood so you can keep it on and still rotate a variable ND or circular polarizer without removing anything. That's a real workflow win in the field.
- Autofocus: Solid. The Silky Swift Voice Coil Motor is among the fastest AF systems I've used on a zoom of this class — Nikon claims approximately 5x faster than the Mark I, and it feels it in practice.
- Minimum focus distance: Down to 0.24m at 24mm (0.32x magnification at 70mm). This opens up close-subject possibilities that a typical 24-70 doesn't allow.
- Sharpness and bokeh: Outstanding center-to-edge sharpness and gorgeous, creamy bokeh — 11 rounded aperture blades do real work here. Color rendering is excellent, with no obvious cast or fringing in my shots.
- Build and weather resistance: Enhanced dust- and drip-resistance, fluorine-coated front element, Meso Amorphous and ARNEO coatings. This lens is built for real conditions.
- The weight win: At 675g, it's 130g lighter than the Mark I. You'll feel that difference over a long day.
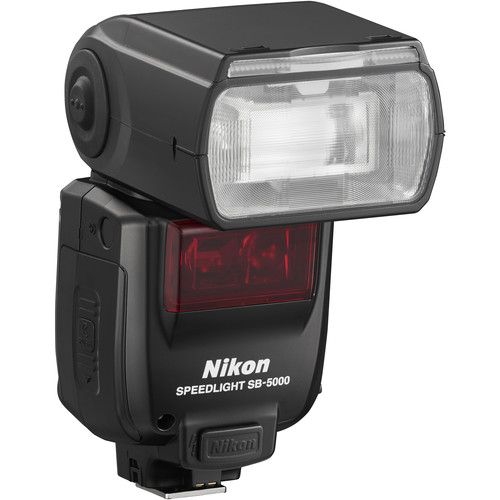
Nikon SB-5000 AF Speedlight: The Flash You Didn't Know You Needed
- The fastest, quietest-recycling flash I've ever used: I've used a lot of flashes. The SB-5000's active cooling system — the first of its kind on a shoe-mount flash — allows for rapid-fire sequences that no other hotshoe flash can sustain. You have to experience it to truly appreciate it.
- 30 minutes was all I got — but that was enough: I only had about 30 minutes of impromptu use during this review, which I wish I could have extended. That said, I've used enough flashes to know with confidence this is worth the investment if you're an event or wedding photographer.
- The included hoods are genuinely good: i-TTL with the hood attached handles direct-at-subject flash without blasting highlights everywhere. That's harder to pull off than it sounds.
- Battery gotcha — use rechargeable NiMH: I was using regular Duracell alkaline AAs, and they drained to the point of uselessness after a couple dozen shots at full power. Use rechargeable NiMH batteries. Do not skip this step.
- Radio wireless control: 2.4 GHz radio control for Nikon's CLS system, supporting up to 6 flash groups up to 30m away without line of sight. This is a pro flash system in every meaningful sense.
- Guide number: 34.5m at ISO 100/35mm, up to 55m at 200mm — serious output for a shoe-mount unit.
- Price (~$547): Not cheap for a speedlight. Justified for event and wedding pros. Harder to justify for occasional use.
Real World Shots 📷
The photos below are real-world samples. Click any photo to open the original size.
This was one of my first shots, but it drew an instant smile when I saw the results on the rear LCD. Nikon used to lag behind Canon and Fujifilm on in-camera color, but not anymore. In fact, the wealth of configuration means the legacy Nikon shooters can get the look they like while Canon and Sony can get their preferred look right out of the box.

The nice bokeh, conservative exposure and sharp details gave me an immediate clue that this was going to be a fun camera to review. Click the photo to open the original size 👆
The default metering was slightly off for my taste, but the image quality and color were spot on. The RAW NEF file has lots of room to tweak the lighting to your hearts content, but you start off with a solid file with a lot of exposure latitude to get the results you need.

I was pretty impressed when I got back and started pixel peeping this shot to see the amazing detail and gorgeous bokeh. Click the photo to open the original size 👆
Great colors, excellent dynamic range, zero blown highlights and razor sharp - there's a lot to love about this lens and camera combo.

ISO 2800 was great on the in-camera JPEG, but if I were to throw this into DxO PureRAW then you'd think I took this at ISO 100! Click the photo to open the original size 👆
I so desperately wanted to try out the Focus Shift Shooting (focus stacking) feature of this camera, but I kept being so satisfied with the shots I was getting I never took the time to take out the tripod.

The bokeh is just epic and the sharpness on the stem inside the trumpet was just too darn good. My white balance was set for a more neutral cool tone intentionally, but I still like this classic Nikon color treatment. Click the photo to open the original size 👆
This was my do-over day with the flash where I was intentionally testing a consumer level scenario of you are bringing out the flash to take a shot while the sun is going away.

I intentionally shot this the way a newbie would but with one exception - this shot had the flash head direction pointed straight at the subject with the opaque cover on. The result was an acceptable exposure for a casual photographer and definitely something that has lots of potential in a pro event photographers hands. Click the photo to open the original size 👆
I was a complete idiot and accidentally forgot to reset my shutterspeed. As a result, this and many other shots were shot at very high ISO. The color and sharpness look great all things considered, but I was definitely kicking myself.

DxO PureRAW 6 Is a Game-Changer for Nikon Z8 Raw Files
so you don't have to worry about shooting high ISO images with this camera. Click the photo to open the original size 👆
Computer Vision says this image has a dynamic range of 231 steps of brightness the darkest usable signal and the brightest non‑saturated signal with a perfect tonality score of 100 - that's impressive for the default metering settings.

This is a fun image to play with the NEF because you have so much flexibility to adjust the hot spots and DxO PureRAW gives you crazy sharp eyelashes after it does its magic. Click the photo to open the original size 👆
No matter the camera settings I tried, I couldn't get the reds to show up accurately. This was probably the one weakness I found in this camera that was otherwise doing great at everything I threw at it.

ISO 2200 definitely doesn't help, but even at 100 I still think the tonal range of this red flower was just too much for this sensor. A differ raw editor might do the trick, but I never got around to testing that theory. Click the photo to open the original size 👆
A rare ISO 100 shot during my testing. Amazing hair and skin texture detail that made me fall in love with this lens.

Tough lighting conditions, but the Z8 metered it quite well. Click the photo to open the original size 👆
The bee on the purple flower gave me a hard time so I struggled to get any shots of it. It wasn't the camera's fault though - it was me the the photographer as I hadn't tried chasing down a bee in years so I failed to have my camera settings set properly. That said, this bee must have felt sorry for me so it sat still and gave me a pose - too bad I had the wrong shutter speed.

I was real happy with the color in this one as it was very true to life that aligned with how my eyes saw the scene at that moment. Click the photo to open the original size 👆
While I failed to dial in some exposure compensation to avoid turning my whites into 18% gray, I was happy with the detail and bokeh of this f/22 shot.

Really great detail all things considered and a nice bokeh even at f/22. Click the photo to open the original size 👆
While the composition of this shot is terrible, I took it anyway because of how cool this scene was in real life. While the human eye has far more tonal range, I was happy with the details left in the shadows and how the bright sun on the bush was accurately captured.

I did several experiments with f/22, and this is definitely a lens that I'd have no reservations about using it at that aperture. Click the photo to open the original size 👆
Thank you bee for staying still for me! I finally got one despite having the wrong settings - sometimes you get lucky!

Crank up your shutter speed and turn on continuous auto focus and you can definitely get some great bee shots with this combo! Click the photo to open the original size 👆
Recommended Products

Closing Thoughts
I was genuinely sad to pack up this system and ship it back. The Z8 is the best all-around Nikon that I've ever tested — it addresses nearly every complaint I carried through 15 previous Nikon reviews, and it does so without asking you to give up anything meaningful. Yes, the LCD is outdated and the eye/subject AF still has room to close the gap on Sony. But build quality, metering, white balance, configurable ergonomics, file quality, and hybrid video capability are all at the top of the class. The NIKKOR Z 24-70mm f/2.8 S II is the kind of lens that ends the upgrade cycle — buy it once, never look back. And the SB-5000 is the flash you've been waiting for if you shoot events, just make sure you're running rechargeable NiMH batteries or you'll be changing AAs in the middle of a reception. If you need one system to handle nearly everything, Nikon wins. Highly recommended — without reservation.
👉 Click here to learn more


